Thought for a lifetime

Einstein made the very important observation that " Imagination is more important than knowledge ".

Wednesday, November 14, 2012

Instant Perfect Pin Cushions


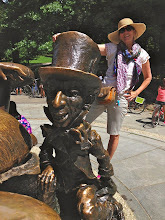
Shopping for a baby shower gift took me back to stores I haven't visited in a decade. The Disney store was full of characters I had never seen but, then I spied a favorite character -Merrywether. I think she is a fairy Godmother from Sleeping Beauty. All I remember is she's kind, chubby, benevolent, wears a funny hat and is a little ditzy...just how I will be when I am old :)


I also noticed the bodies of these figure were stuffed so...instant pincushions!!! 
And the pointy hats make a great spot to store a thimble. 


The other two fairies, Fauna and Flora will be Christmas presents for sewing pals but,
I love my Merryweather pincushion. It's practical, useful AND puts a smile on my face. 

You never know where you may find a instant perfect pincushion.

Saturday, October 27, 2012

Color Block your Trousers

I have been really frustrated lately because I have not sewn in months! I am making myself complete all the "little" projects that are cluttering up my sewing studio. These trousers are one of those projects.


The fit of these linen trousers is pretty good but, a little short in length for my 5'11"body. Too short is probably my number one reason for not purchasing a pair of pants- but I digress. I'm not sure how I came up with the idea of sewing a swatch of fabric to the bottom but, that was the plan.


Now the proportion of the contrasting fabric to the pant leg was critical. I tried to just eyeball it but, then I remembered an article on proportions that actually had contained an equation for historically proven "correct" proportions ( author measured ancient Greek and Roman sculptures ).
Basically it is dividing a length into 5 equal sections and then the equation is 3 to 2. So the length from the knee on the trouser to the hem was 19" divided by 5 equaled 3 7/8". I multiplied 3 7/8" by 2 and that equaled 7 3/4". And that's how wide I decided to make my bottom band of contrasting fabric.
Explaining math is almost harder than DOING math!


I clearly marked each fabric leg piece that had been cut off the original trousers left and right and front and back. And then completely removed all stitching to use pant fabric as the pattern for the contrasting fabric. It also became the stitching guide so the contrasting band and pant leg would fit together exactly.


I sewed the side seam and inseam exactly like the pant seams and then hemmed the bottom before sewing the contrasting band to the pant leg. The pant and contrasting fabric are both linen so with a little steam and pressing the transition from original pant to contrasting band is pretty flawless.


And voila! 
I totally dig my new color blocked trousers and best of all it is one more to-do project that is now DONE!

Tie One On...your shoe!


I photographed these flats because I really love the floppy, messy fabric embellishment. Almost like tying a scarf on your shoe ( and I'm a big fan of scarves ) plus I knew I could easily replicate this look.


None of my shoes are safe from being altered and these plain, cheap gray suede flats were just screaming out for the floppy fabric embellishment. I selected these possible fabric candidates from my far too numerous tie collection.


I really like using ties for projects because the fabric is already cut on the bias so easy to manipulate, prints are usually small, and the fabric is always a nice silk or silk-like textile. Just remove the stitching and interfacing and iron the tie fabric flat. The only downside is that ties are not very wide. I managed to squeeze two nice 4" sections that sewn together gave me a 24' strip.


The strip was sewn into a tube and cut into two 12" lengths. I did not iron the tubes flat because I wanted the messy look-not crisp edged bands.


The fun was arranging the fabric strips on the shoes. I finally settled for this look and pinned down the fabric. Now I can't find my pliers which I will definitely need to pull my 2" millinery needle thru the shoe and fabric. I always anchor shoe embellishment with some stitches because I don't entirely trust glue. However I have purchased Magna-Tac 809 permanent adhesive by Beacon and it's pretty good stuff.
So one thrift store tie + boring gray flats = a floppy, messy new look 

Tuesday, October 16, 2012

All Saints window display: Sew Sad


If you have ever passed an All Saints store you would remember because apparently their permanent window display at ALL stores is ceiling to floor old, vintage sewing machines!
The first store I chanced upon was in Union Square, San Francisco last year and the sewing machine display compelled me to enter the store and ask how all the machines were acquired. The helpful sales staff informed me that the machines are found and purchased every way possible; online, antique dealers, etc.


I thought the San Francisco store was unique until last weekend when once again I passed an All Saints store in Cabazon, CA with a huge window display FULL of machines, easily over 100. It makes me a little sad that these machines that were a vital, necessary, life enhancing tool for women are now just for decoration.
I know, I know, women who sew now have sleek new computer machines, but still...


The only positive about the machine display is that perhaps it makes consumers stop and think for a moment that ALL clothing is SEWN on machines. Consumers seem so detached from product reality.

And ps.- the All Saints clothes is just the same old stuff.

Tuesday, September 25, 2012

Topsy-Turvy Fall Fashions

These great photos are by Elle Muliarchyk for Dossier and the model is Hartje Andresen.
I found the photos on the blog Fashion Gone Rogue.


Wednesday, September 12, 2012

Transforming a Turkish Table Runner into Pillows


My daughter had the extreme good fortune to spend a bit of her summer in Turkey and she returned with lovely tapestry woven table runners- one for me and one for her.
Of course she had a plan for hers that involved me using the table runner to create two matching pillows to replace the ones I had sewn for her as a house warming present last year ( the girl is seriously hard on pillows ).
She said "all" she needed was the pillow covers because the pillow forms were still usable... see how easy it would be?


Of course I agreed and working off the  18"X18" measurements of the pillow forms I  cut two pillow fronts out of the Turkish tapestry table runners. I also carefully removed the tassels ( I love tassels ).


I purchased 5/8 of a yard of fabric for the back on the pillows and two 16" all purpose zippers.
I was ready to start sewing...


Sewing a Lapped Zipper

I am certain these pillows will require frequent washings so a zipper was mandatory. I will sew a  lapped zipper which has a pleat that covers the zipper and is stronger than an invisible zipper but, still looks good. 


Directions for sewing a lapped zipper are included in the all purpose zipper package but, here are the steps. First machine baste the two pieces together that will have the zipper inserted. Use a generous 5/8" seam allowance and I also overlocked the edges before I basted the pieces together.
1. Carefully place the right side ( has the zipper pull ) of the zipper face down on one side of the seam allowance with the zipper teeth NEXT to NOT on the seam.


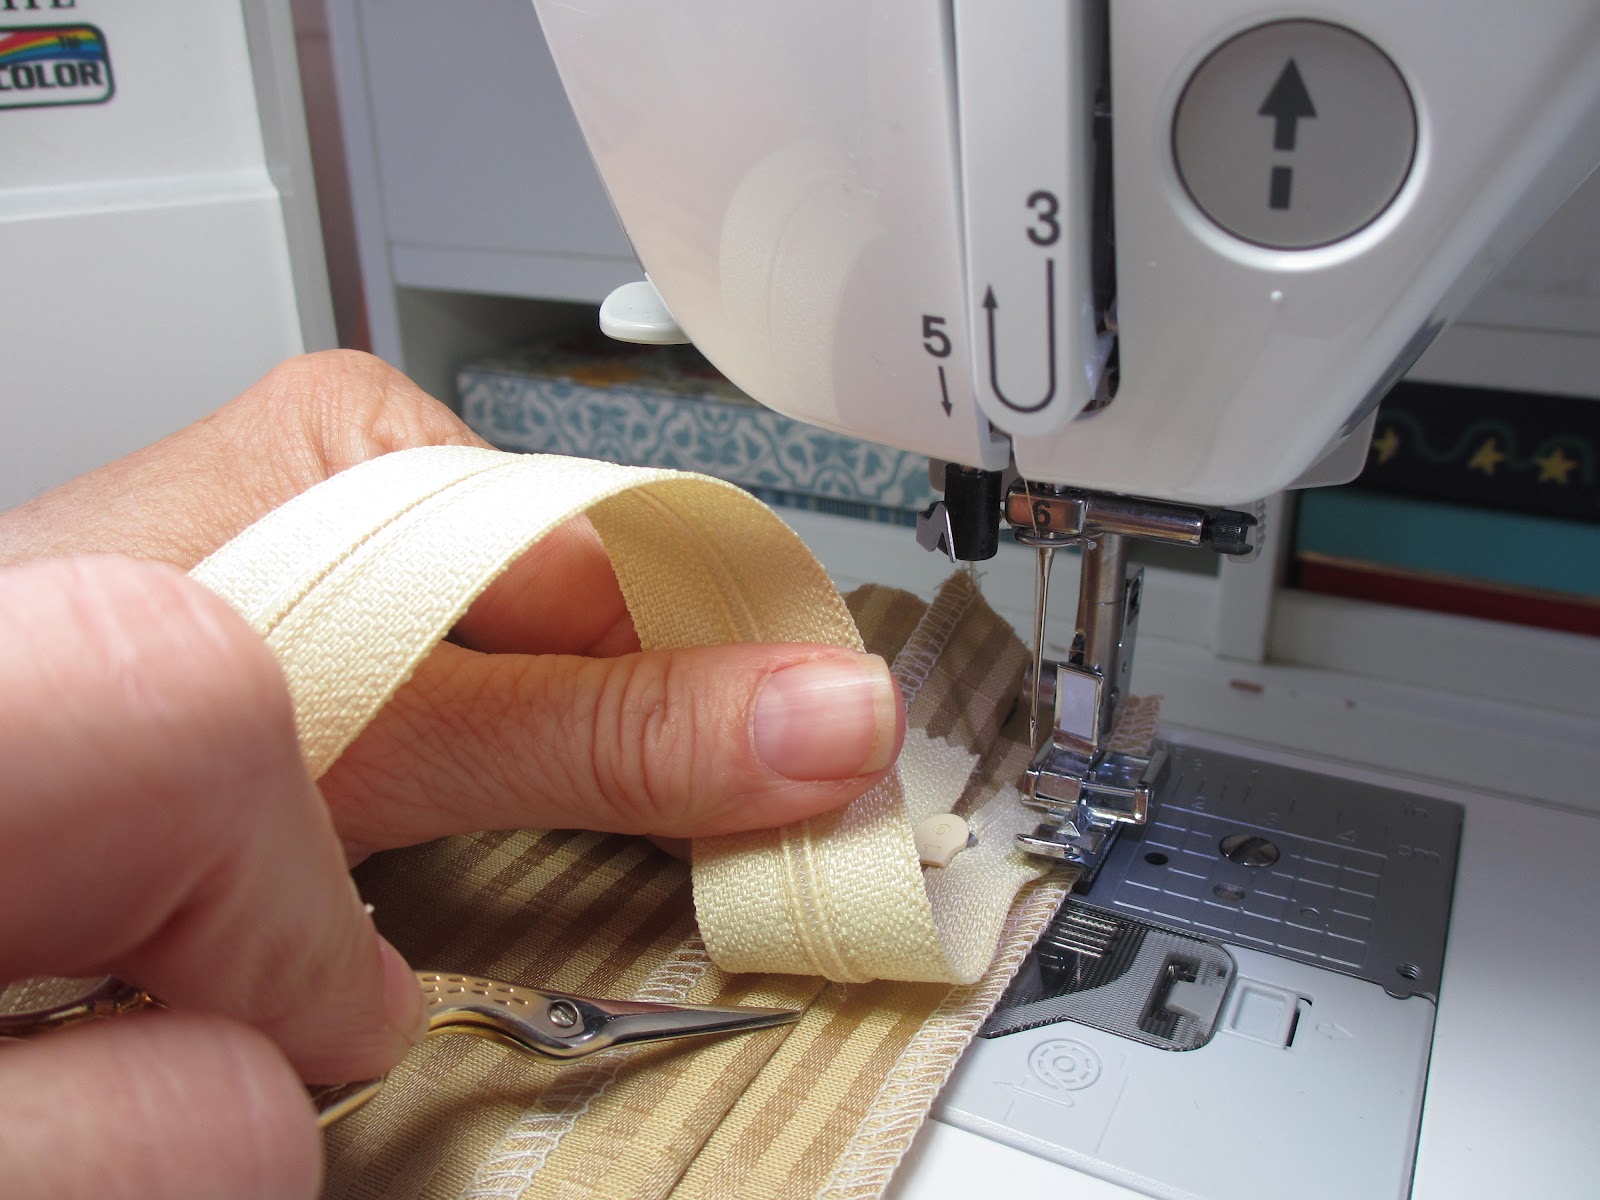
2. Using a zipper foot on the sewing machine sew the zipper to the one side of the seam allowance, and just the seam allowance. These stitches do not show on the front side of the fabric. Keep the zipper teeth next to the seam ( seam is what scissors are pointing at ).


3. Here's the confusing part. Fold back the side of the seam allowance that now has the zipper attached  so the zipper is now right side ( see the zipper pull ) facing up. Carefully stitch in the folded back seam allowance between the zipper and the seam ( scissors are pointing to seam ). This is the step that creates the 'lap' in a lapped zipper.


4. Now the zipper is completely sewn to one side of the seam allowance and the other side of the zipper is not sewn to anything. Turn your entire fabric back right side up and stitch the fabric to the zipper side that is not sewn to anything. You can feel the zipper through the fabric but, ideally you are stitching about 1/4" from the seam ( where the scissors are pointing ).


5. CAREFULLY remove/cut away the original machine basted seam and the zipper should peek out from under the lapped edge of fabric.
If this is your first lapped zipper I suggest you practice on spare fabric first. That's the great thing about sewing- ALL the stitches can always be removed and you get a second chance ( and third chance and fourth chance and fifth...)